
How to apply vinyl lettering
How to apply vinyl letters with application tape (transfer tape) to a smooth surface, in six steps. The steps are general and apply to most cast vinyls; for an unusual surface, always follow the manufacturer's advice as well.
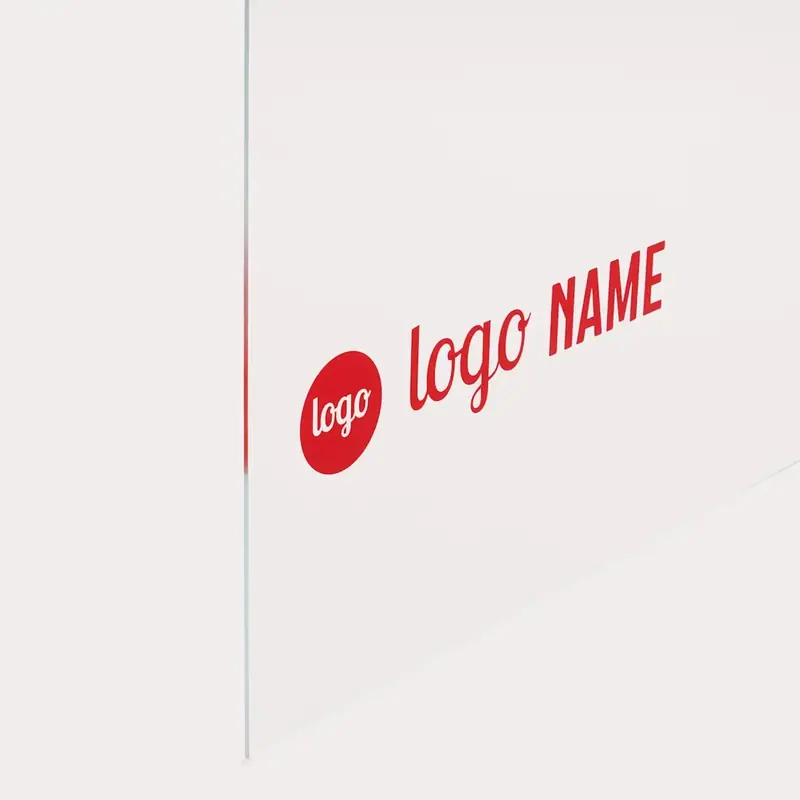
How your letters are delivered
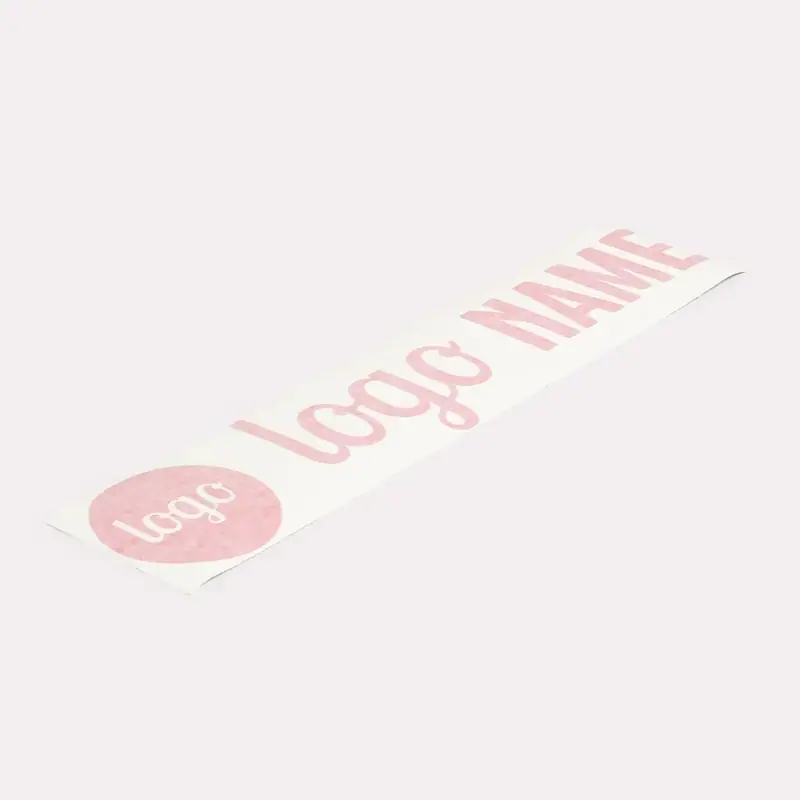
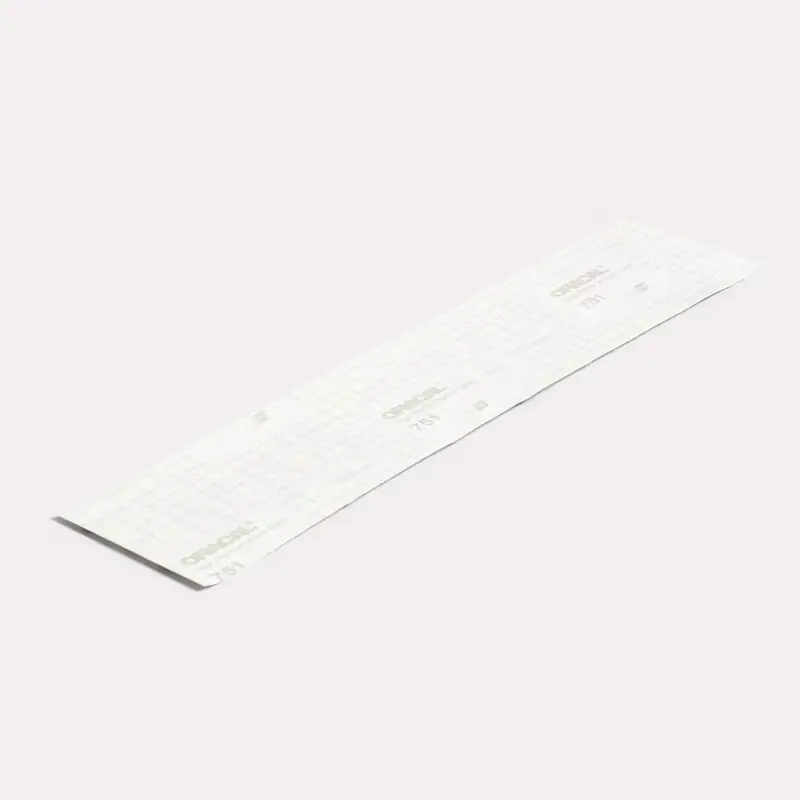
Your letters come as one piece on application tape (transfer tape). The first photo shows the letters on the application tape, the second the back with grid lines.
What do you need?
-
Your vinyl letters
On application tape, as delivered.
-
A squeegee
Or a bank card or plastic card wrapped in a soft cloth.
-
Painter's tape
Or masking tape, to fix the text in place.
-
Tape measure or spirit level
To get the text straight.
-
Cleaning agent
With a lint-free cloth, preferably also isopropyl alcohol.
-
Scissors or a knife
Optional, to cut away the backing paper.
The steps
-
1
Clean and dry the surface
Remove dust, grease and polish. Wipe glass or paintwork with a cloth and a little isopropyl alcohol and let it dry completely.
Vinyl adheres best to smooth, closed surfaces.
Fresh paint must be fully cured. -
2
Decide on the position
Hold the application tape with the letters against the wall or glass and measure. Check with a spirit level that the text is straight.
Fix it with a strip of tape.
-
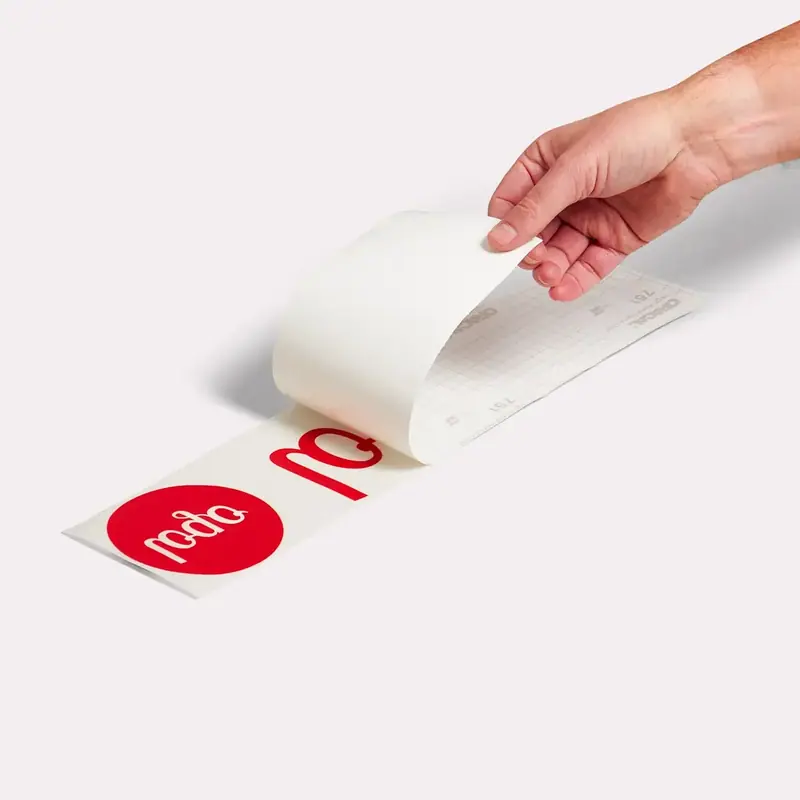
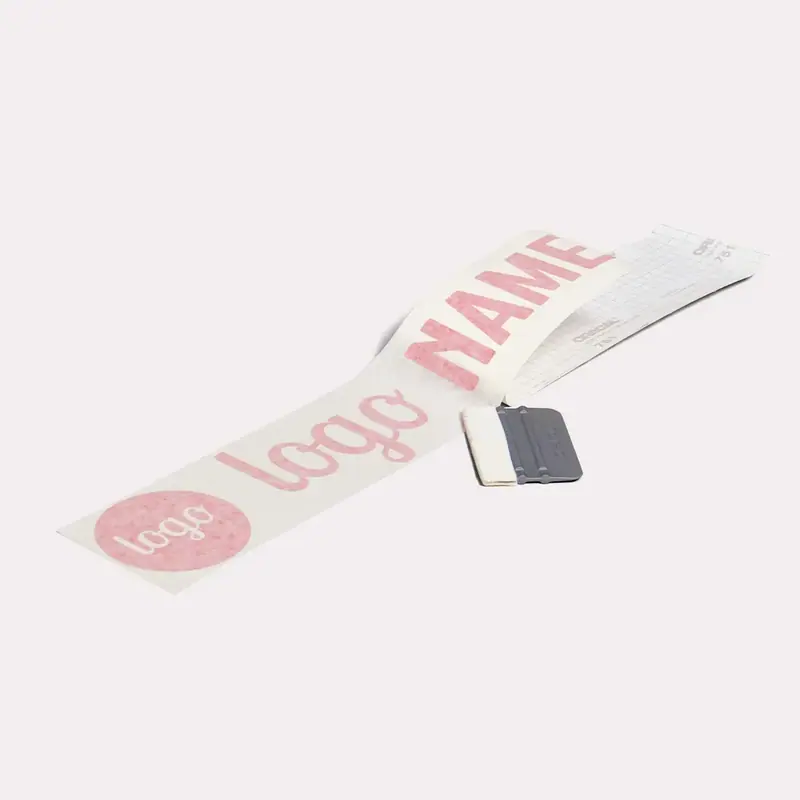
Product photo: the transfer tape is peeled off the backing. Photo: Printen.eu. 3Make a hinge and remove the backing paper
Put a strip of tape over the top edge of the application tape so it is attached to the surface like a hinge. Fold the application tape up and carefully peel the backing paper off the letters. Cut away the loose backing paper.
Keep the letters on the application tape. If a letter stays behind on the paper, press it back onto the application tape and slowly continue pulling. -
4
Fold back and squeegee
Slowly fold the application tape back onto the surface, from the hinge outwards, and smooth it with the squeegee in a calm movement from the centre to the edges. This pushes out the air.
Then rub firmly over the whole text, including the edges of each letter.
-
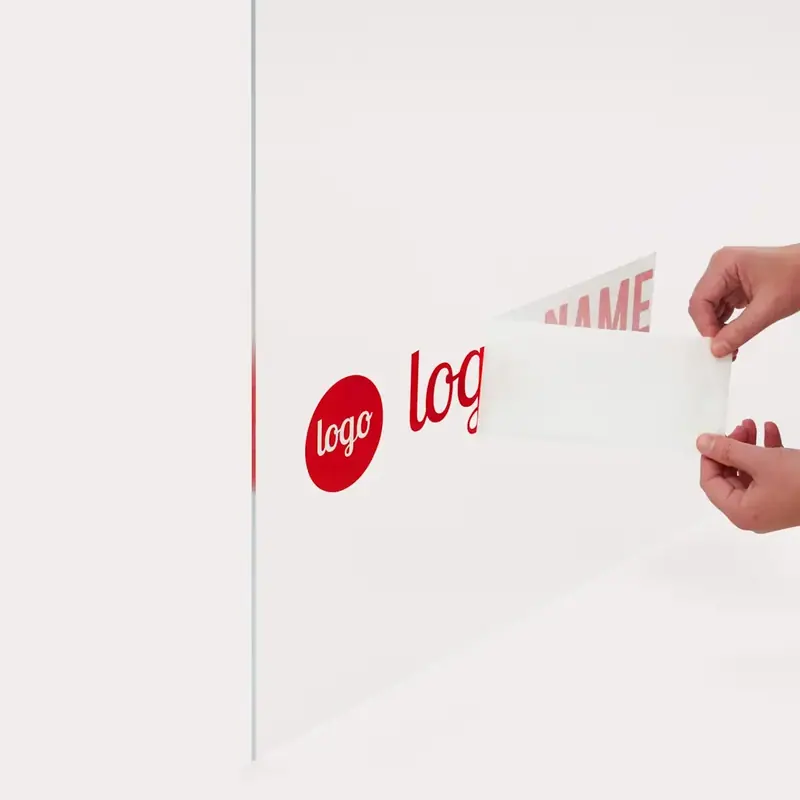
Product photo: the application tape is pulled off the letters on the glass. Photo: Printen.eu. 5Remove the application tape
Wait a few minutes so the adhesive can bond. Then pull the application tape back slowly and at a sharp angle, almost along the surface, rather than straight towards you.
If a bit of a letter sticks to the tape, put the tape back, rub firmly over that part again and try once more. -
Product photo: the result on glass. Photo: Printen.eu. 6Check and finish
Air bubbles underneath? Prick them at the edge with a pin and smooth the air out.
Leave the letters alone for the first few days. Do not wash a vehicle straight away and do not use a pressure washer close to the edges.
Dry or wet application?
This guide describes the dry method with a hinge. On glass, some people use the wet method, lightly wetting the surface: the vinyl can then be moved for longer but bonds later. If you want to use it, follow the manufacturer's (ORAFOL) processing advice.
If things don't go smoothly
| What happens? | What can you do? |
|---|---|
| A letter stays on the backing paper | Press the letter back onto the application tape and slowly continue peeling off the paper. |
| A bit of a letter sticks to the application tape | Put the tape back, rub firmly over that part and try again. |
| There are air bubbles under the letters | Prick them at the edge with a pin and smooth the air out. |
Inside of glass
Cleaning and removing
Cleaning
Later, clean with a soft cloth and a mild detergent. Do not use harsh solvents.
Removing
Carefully warm the letters with a hair dryer and slowly peel them off. Adhesive residue can be removed with a cleaner suitable for that surface; test it first in an inconspicuous spot.
No letters yet?